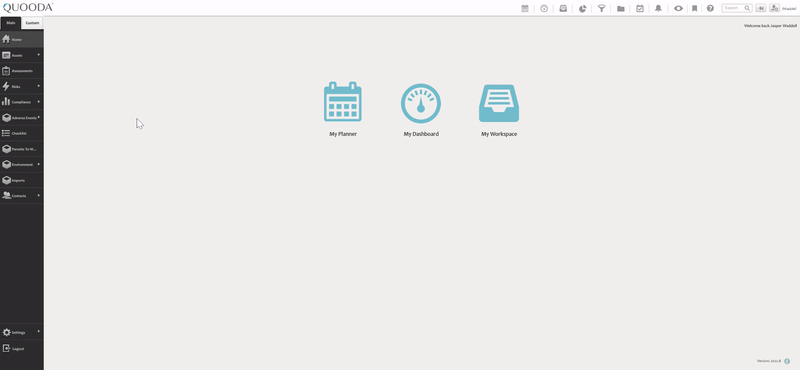
Every user in QUOODA® has a job role and this role can be used to customise the menu and layout that each user can see.
The menus you can control with these permissions are:
- Main Menu – Down the left-hand side; Assets, Risks and Compliance.
- Top Menu – Quick links to your Dashboard, Reports and Tasks.
- Custom Menu – Additional menu that can be built for your business needs.
Step 1. Go to Settings > Menu Management > Role-based Visibility
Step 2. Amending a menu item
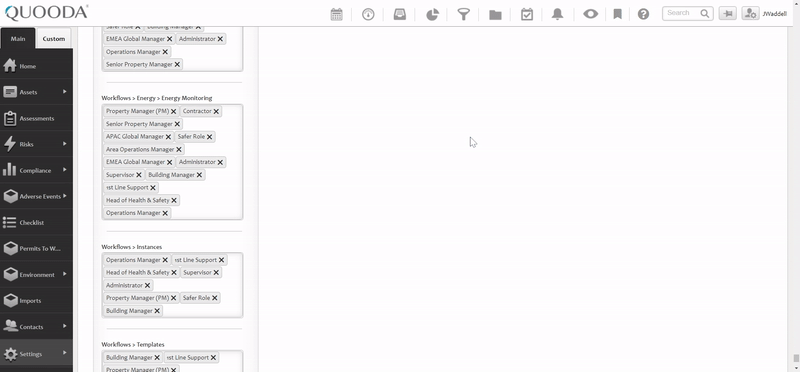
The role-based menu visibility screen has a variety of different named sections with a list of roles within them. These sections correlate to an item in the menu and toolbar that is available for users to see on their system.
To add a role type into the section we simply click in the empty space and select the relevant role from the drop-down list. In this example, we will use a ‘Contractor’ role and give them access to the ‘Alerts’ tab.
TOP TIP - If the role required for this user has not been created yet please see the setting up a new role help page.
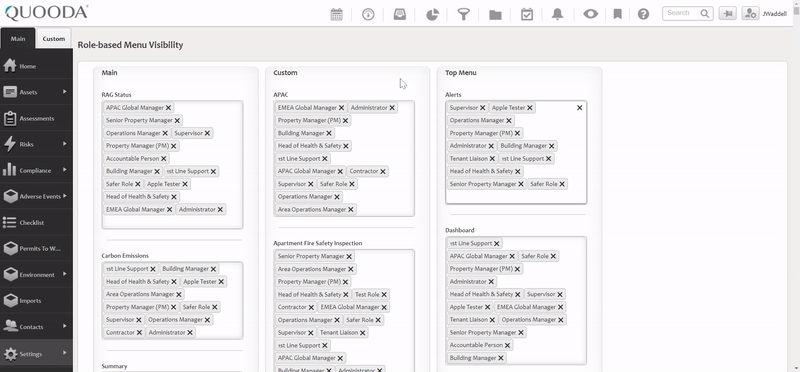
To remove a particular menu item from a user, the steps are similar. Simply click the small ‘x’ next to the role type.

Step 3. Save your changes
Scroll down to the bottom of your page to ‘Save’ your new settings.
TOP TIPS:
- Role-based menu management is one element of user access, the others are linked below. We explain how these permissions work together on the user permissions overview page:
- Role security provides the appropriate access to the areas of QUOODA® that they require
- Data permissions provide the user with permission to see information on different assets.
- File store permissions are required to enable a user to add documents and attachments.
- If you are unsure if the change you have made is the correct one you can impersonate a user within that role to test they have the access that you are expecting to a feature.